Raspberry Pi Zero 2 W CUPS Server for Thermal Printer
Setting up a CUPS server on a Raspberry Pi Zero 2W to make a wired HotLabel M9 HD thermal label printer wireless
After a rather successful end to the year for Rekkid I decided to buy a couple things for some quality of life improvements. I got a new table top to go in the study/workspace so I have more space to work, and I got a thermal label printer so I didn’t have to buy A4 label sheets, and either cut them to size or waste half of the labels because the shipping labels from Australia Post and Sendle wouldn’t allow me to select which of the 4 labels on the A4 to print on.
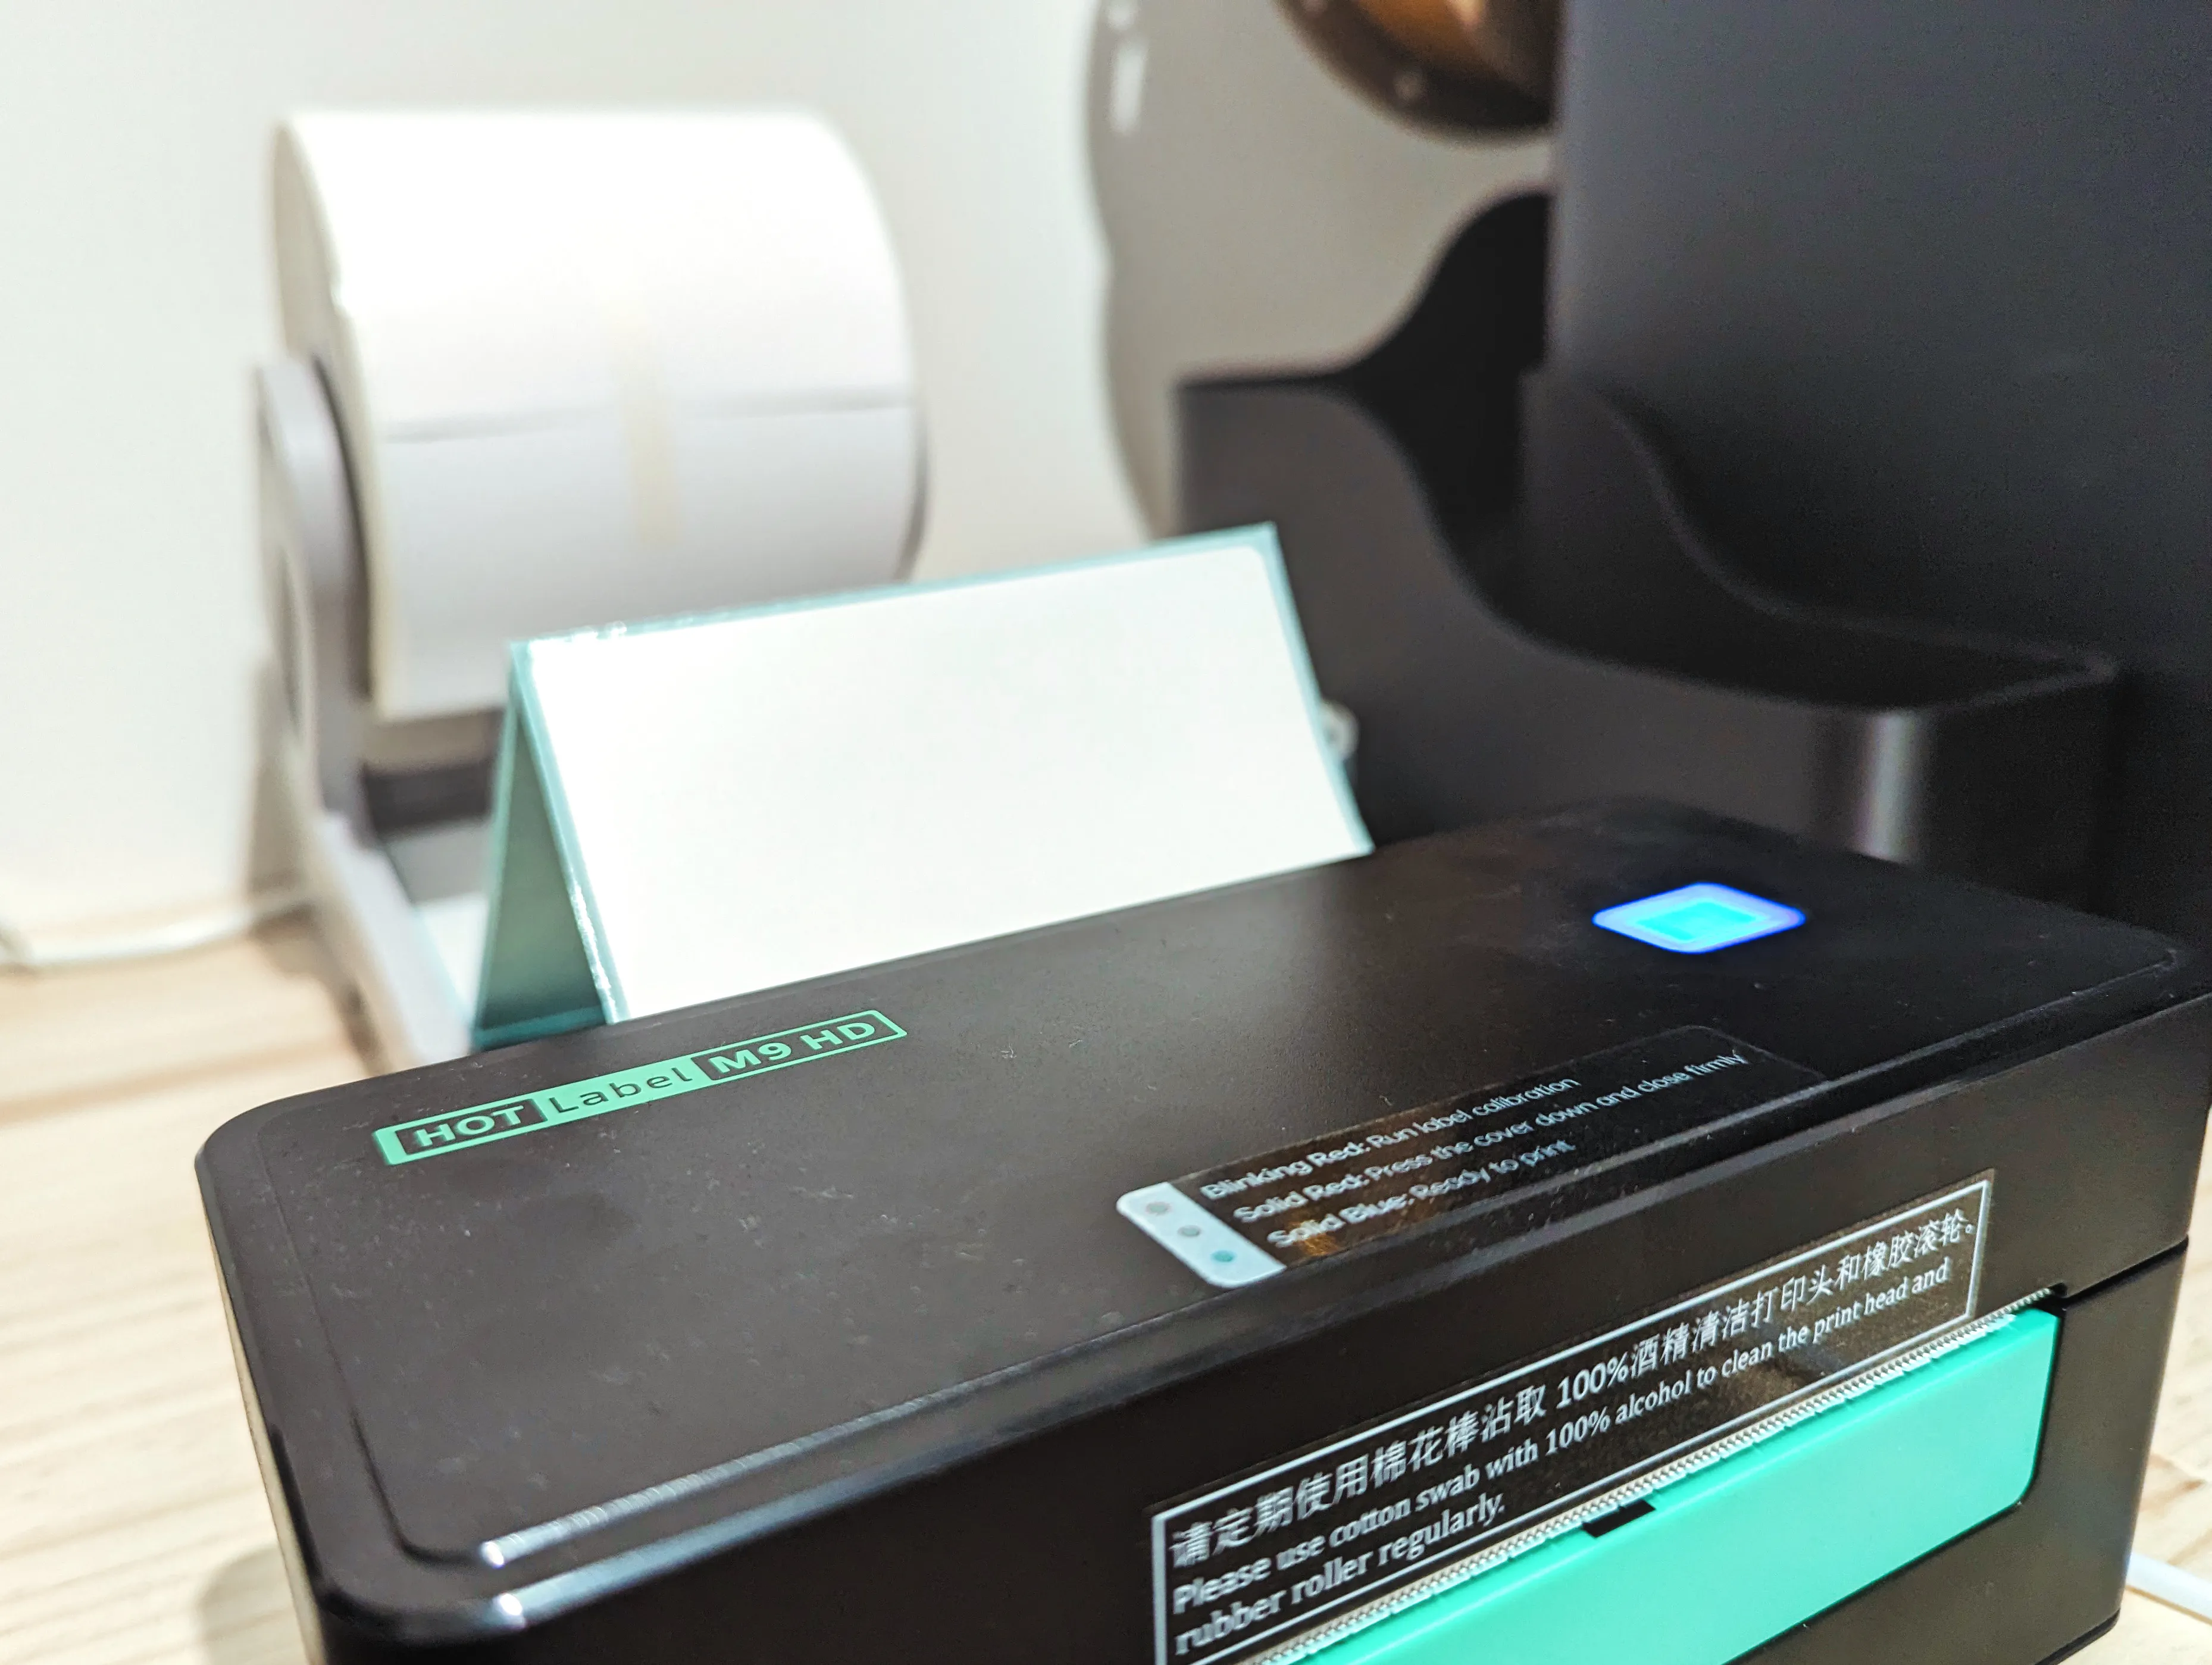
I ended up buying a rather generic looking one by the brand ‘HotLabel’, specially their M9 HD printer. It was quite cheap, I believe around $80, and works great but it has one glaring flaw - it has no wireless connectivity. After dealing with the hassle of bringing my laptop over to the printer and plugging it in every time I needed to print labels, I decided to try my hand at using a Raspberry Pi Zero 2 W to set up a wireless CUPS server. It took a little trial and error so I thought I would share the steps I took here, just in case it might help anyone else in the future!
Required tools/hardware:
- Raspberry Pi Zero 2 W
- HotLabel M9 HD Thermal Label Printer
- USB OTG Cable (micro USB to USB-A)
Steps
Preparing the Raspberry Pi
I started with ‘Raspberry Pi OS (Legacy, 32-bit) Lite’ mainly because I wanted as little overhead as possible and it was always going to be a headless setup - ideally I would not have to plug in a monitor even to get it set up. In the options I entered my WiFi details, enabled SSH and set the hostname to ‘cups.local’. This allows me to SSH into the Raspberry Pi and install and configure CUPS without a monitor or desktop environment. There are other ways to do this by updating files on the boot drive, but this is quick and convenient!
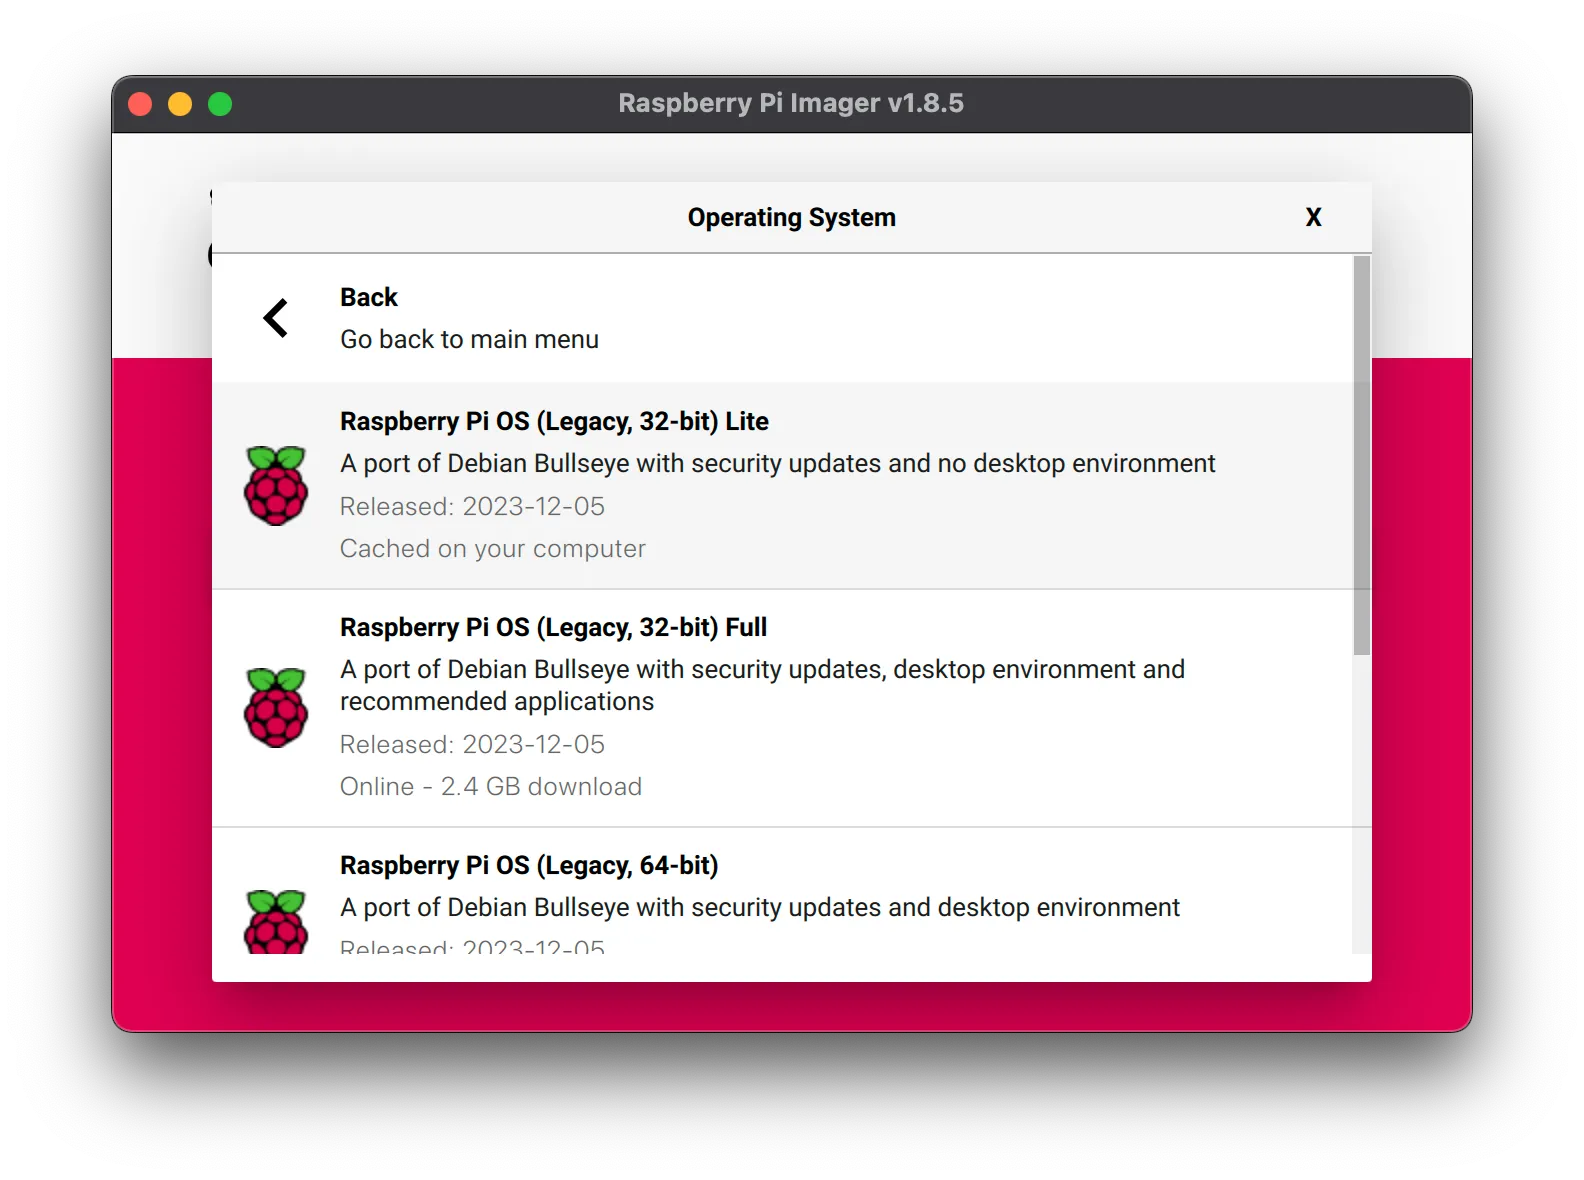
With the install done, I put the SD card into the Pi Zero 2 W and booted it up. After a minute or two I was able to ssh in using ssh <user>@cups.local.
Follow these steps to update all the packages and install the ones we need:
sudo apt update
sudo apt upgrade
Reboot
shutdown -r nowInstalling and configuring CUPS
Once the Pi has rebooted, SSH back in and run:
sudo apt install cups -yWe now need to make some changes to the CUPS configuration to allow us to access the admin interface from elsewhere on the network. I would recommend you make a backup of the file first just in case anything goes wrong.
sudo nano /etc/cups/cupsd.confTo allow access to the CUPS admin interface from another computer, replace this line:
Listen localhost:631with
Listen 631To allow us to use DNS instead of just an IP address, before the first <Location /> tag, add:
ServerAlias *To allow your computer to have access to the root (/) and admin (/admin) pages, in the <Location /> and <Location /admin> blocks, after the Order allow,deny line enter:
Allow <ip_address>Where <ip_address> is your computer’s local IP address.
If it suits your requirements you can also use a CIDR or allow all, e.g.:
Allow 192.168.0.0/24
or
Allow All
To allow the user to add, remove and configure printers, run:
sudo gpasswd -a <user> lpadminNow enable CUPS so it starts automatically and restart:
sudo systemctl enable cups
sudo systemctl restart cups
Adding the printer and installing drivers
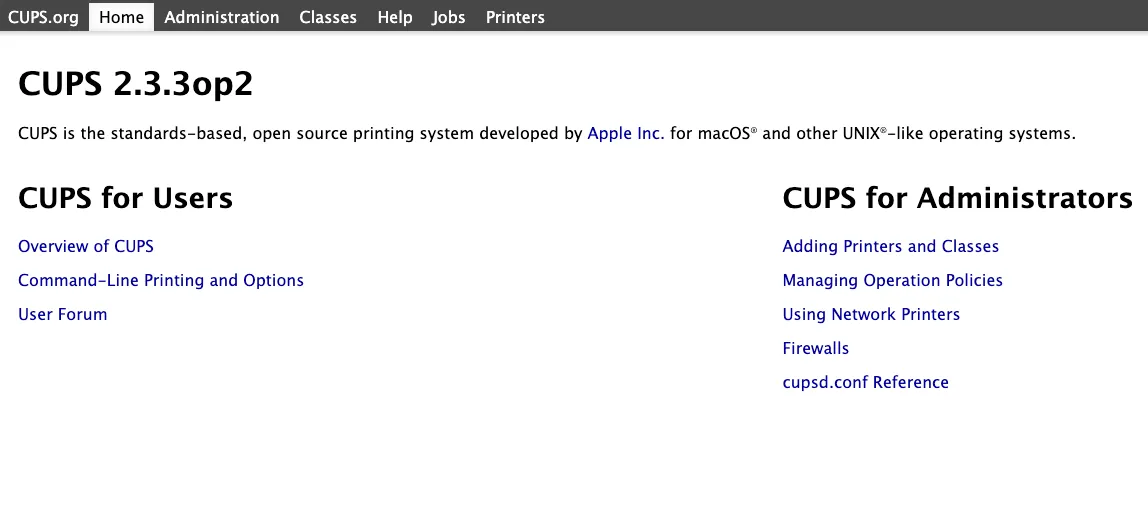
You should now have access to your CUPS admin interface! In your browser, navigate to <pi_ip_address/hostname>:631 and you should see the main CUPS page.
To add the printer, plug the printer into the Raspberry Pi using the USB OTG cable and navigate to Administration > Add Printer. You should see the label printer under Local Printers.
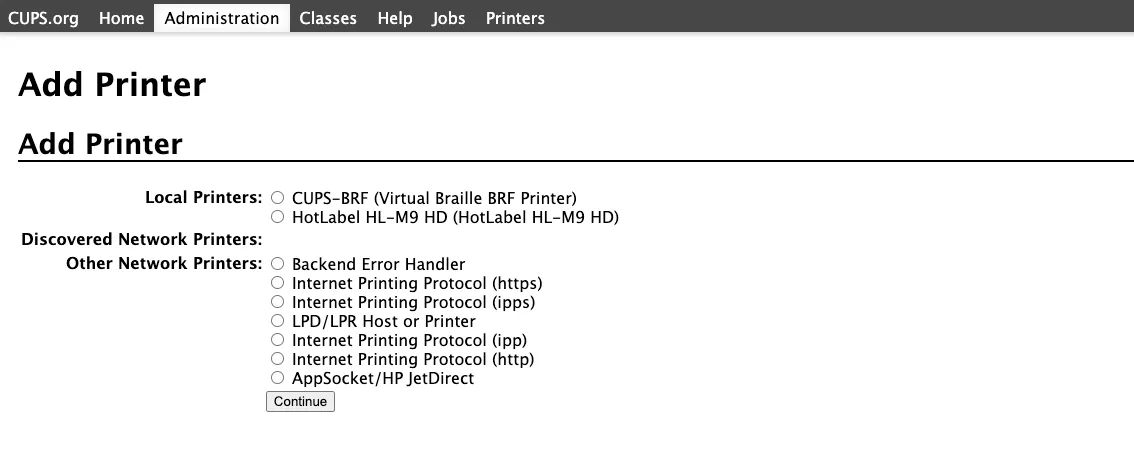
Select it and click Continue. On the following page, update the details if you wish, make sure that Sharing: Share This Printer is checked and click Continue.
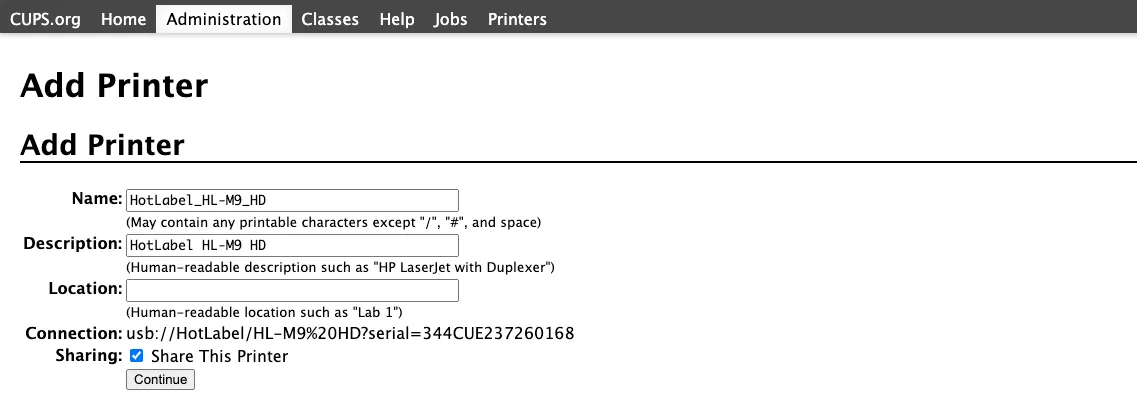
Now came probably the trickiest part of the entire process, finding the right drivers. On the HotLabel wiki I found some Linux drivers which I tried to use to no avail, and found that the ones that did work ended up being the ChromeOS one which can be found here. Download the .ppd file and on the next page of the CUPS printer config, select Choose file and select the one you just downloaded.
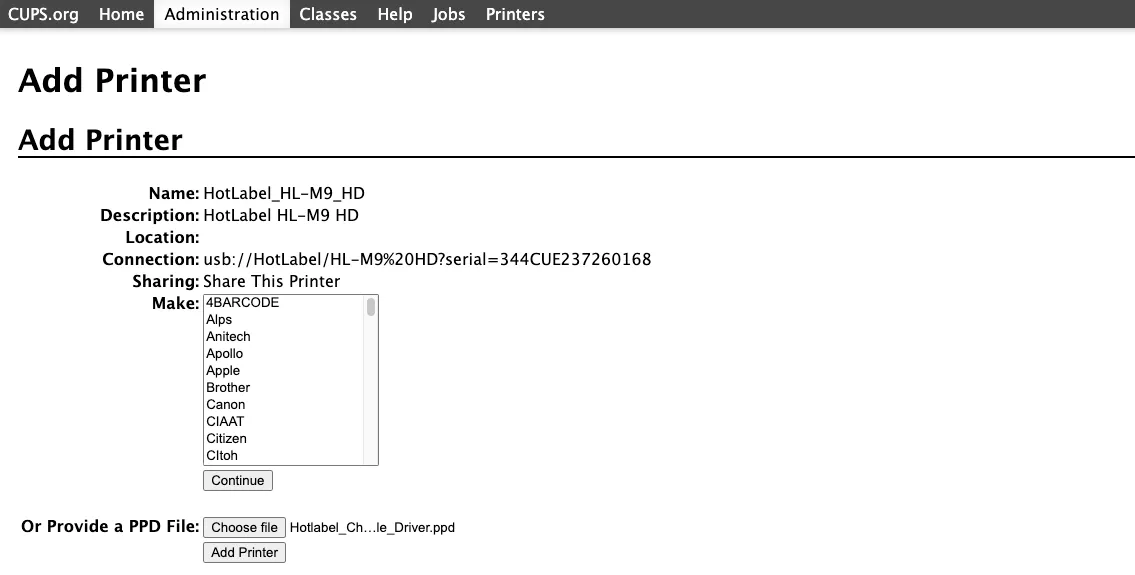
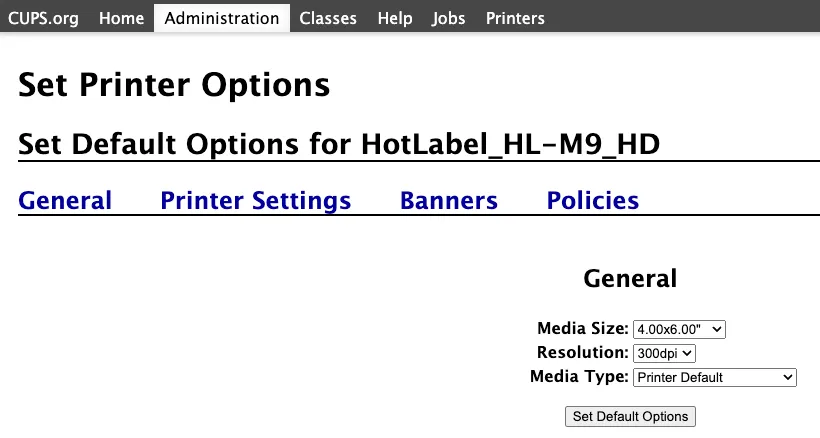
Once that’s done, click Add Printer! Once it’s done, you’ll notice that if you go to the printers management page the driver is listed as Zebra EPL2 Label Printer. The last step I had to do was to set the default page size 6x4in as that’s the size of shipping label that I print. To do so, from the printers management page, select the Administration drop down and click Set Default Options. From there update the settings as required, I also set the resolution to 300dpi.
And that was it! After that I was able to add the printer from my Mac printer settings, and print to it just like I could before without having to unplug my monitors and moving my laptop over to my other workspace!